Sometimes you have to make a project on a very tight schedule. For example, recently I was asked to create a piece for the memorial service of a friend who had passed away. Unfortunately, the memorial service was just ten days away!
Because she had been a good friend, I agreed nonetheless. And I delivered. I created my large handwoven wall hanging, Ode to Joy, in just ten days.
My friend’s family was ecstatic – they hugged me and said the piece was nothing short of magical. And many people came up to me at the service and told me how magnificent Ode to Joy was.
Here’s how you, too, can create superb work on a shockingly tight deadline.
Divide the project into stages
Start by dividing your project into stages. For most craft projects, there are three major stages: Designing, Sampling, and Making. In the Design phase, you’re roughing out the basic layout of the piece – sketching out your ideas and developing the technical plans to turn your vision into reality.
In Sampling, you’re creating samples – small experiments – in order to answer questions about the design. Examples of design questions might include “Is it feasible to make this part, given the skills and resources I have available?” or “What will this portion of the design look like in the materials I’ve chosen?”
In the Making phase, you’re actually constructing the piece. But don’t think you’re done with design simply because you’re constructing the final piece! Evaluate the work-in-progress frequently, making changes and corrections as you go.
Decide how much time to devote to each stage
Once you’ve chosen how to divide up your project, decide how much time to devote to each stage. How you will divide it up depends on your medium – if you find that designing goes quickly compared to sampling and construction, then give less time to designing and more time to the other two phases.
Make sure to reserve an extra 20% of project time to deal with surprises – so if you have 10 days to do the project, set two days aside for unexpected delays and setbacks. Then take the remaining 80% of your project time and divide it among the different phases.
For my piece Ode to Joy, I had just ten days from start to finish, so (after setting aside two days for unexpected delays), I decided to spend three days in Design, three days in Sampling and preparation, and two days Making the actual piece.
Decide how many design revisions to make
One common difficulty with commissions (or even in making your own work) is the client who just can’t stop making changes. To keep revisions in check, decide how many rounds of design changes you’re willing to do and how big a change you’re willing to accommodate in each round. As the project progresses, the allowable changes should become smaller and smaller.
I estimated that I could make three rounds of design changes in the three days I’d allocated to the Design phase, and told my friend’s family that they could make major changes in those three rounds. Once I moved on to Sampling, however, I could only make changes that would take less than two hours to put into practice, and once I got into Making, I wouldn’t be able to make additional changes. They understood, especially since I was working to a very tight timeline.
Design
What are your design goals?
Begin by deciding your objectives for the project. How will you know if the project is successful? What criteria will you use? (If you have a client, ask the client about his or her goals and success criteria.)
In the case of Ode to Joy, the primary consideration was time: it had to be ready in time for the memorial service – just 10 days away. This deadline was immovable, so everything else became secondary.
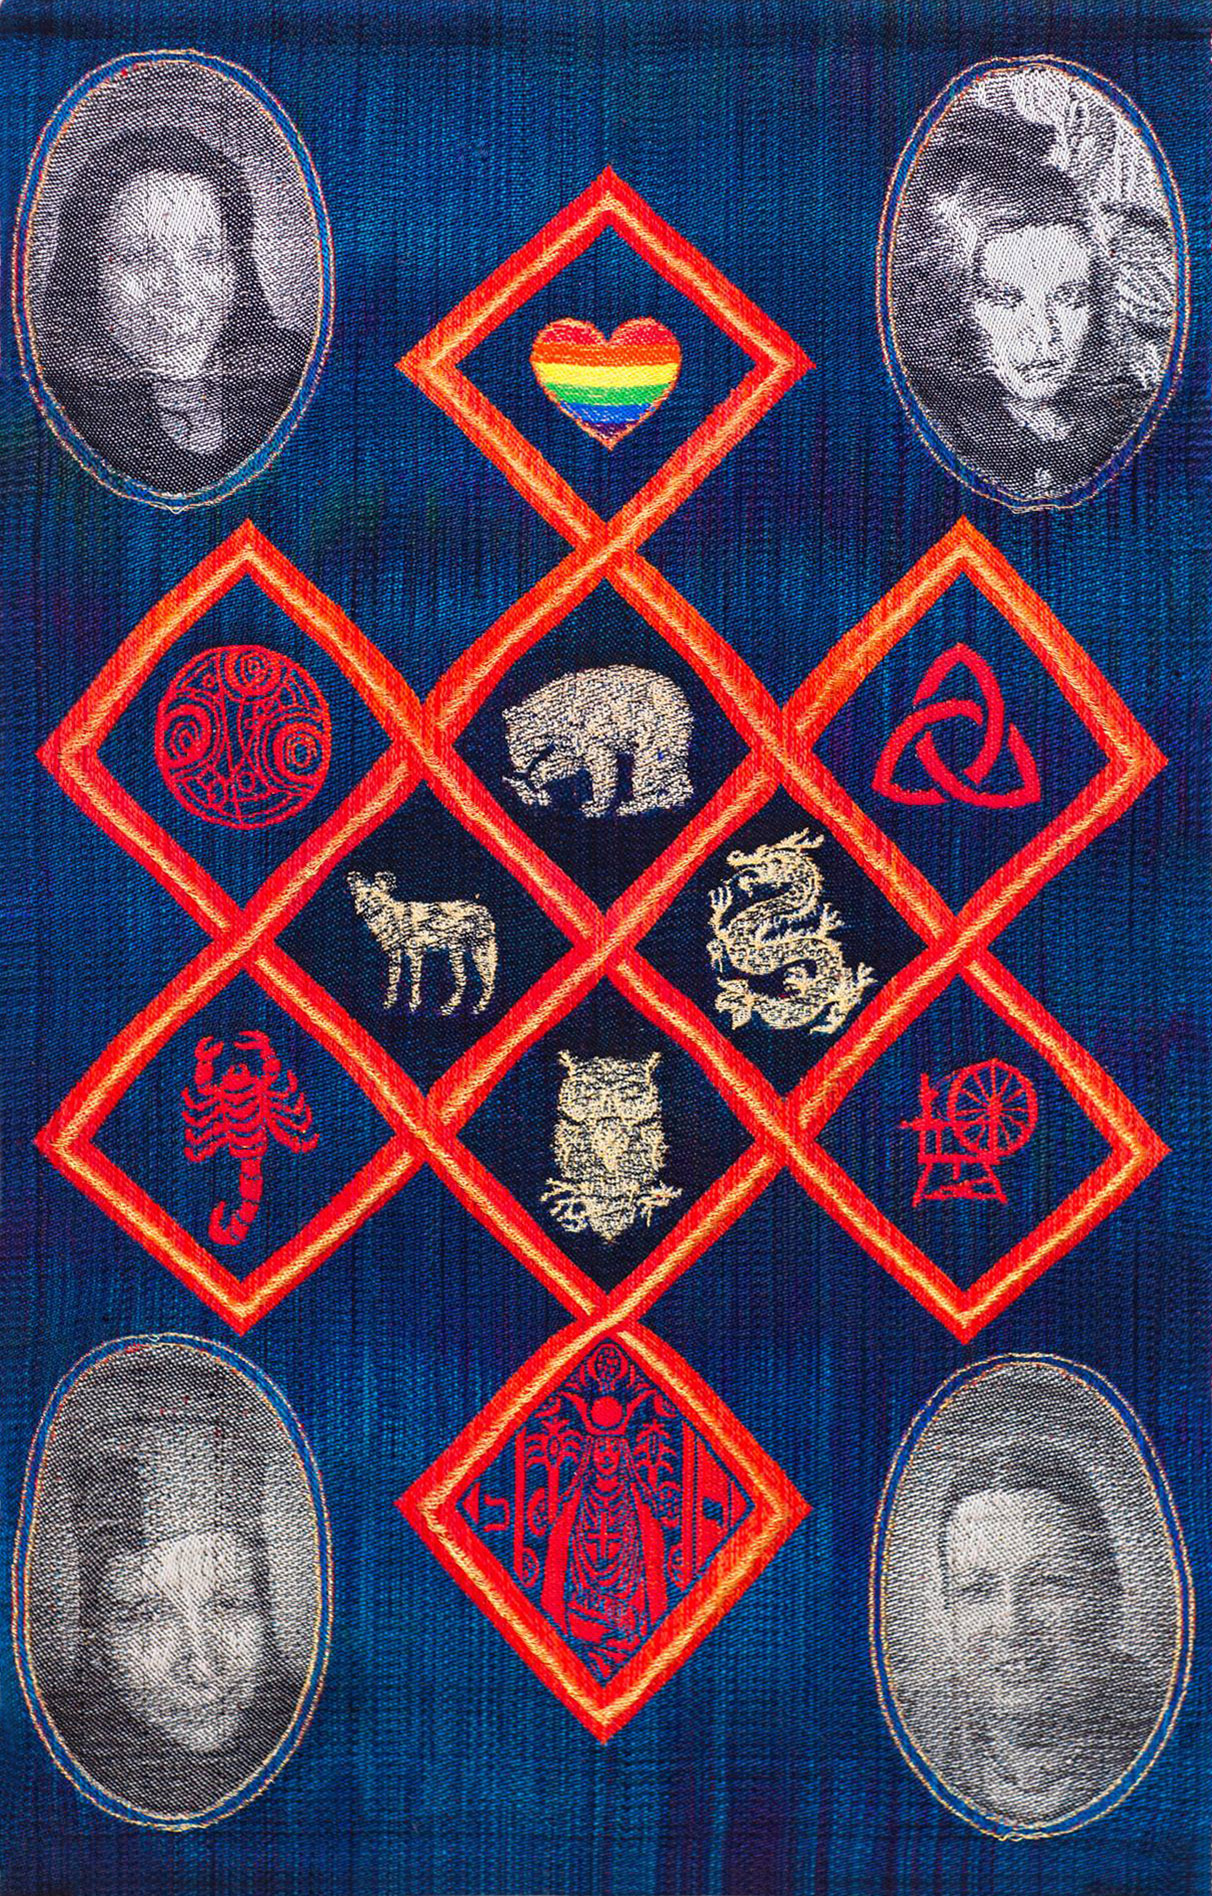
Other objectives were to honor Joy’s memory and incorporate things that were important to Joy. To achieve this, I asked her family to make a list of images and symbols that should be included.
Rough out the basic design
Next, brainstorm some basic layouts for your piece, and choose one to develop further. If you’re working with a client, send two or three designs, and help your client select a single design to work with.
For the memorial piece, I met with Joy’s family to come up with a layout for the piece. We made a crude sketch on a slip of paper, and I translated it into a design draft. This took one day of the three days I had allotted.

Iterate on the design
After you’ve put together a rough draft of the design, evaluate it, and decide what elements to change based on your assessment. (If you have a client, as I did, incorporate the client’s feedback as well.) Then create a new draft, and evaluate/get feedback on that version. Repeat this cycle until you have settled on an overall design, or until you run out of time.
Here is the second draft of the design for Ode to Joy. I improved the background in the photos, rearranged some of the design elements, and changed some of the images in the center.

Joy’s family liked this design. So I took the mockup and did a day’s worth of technical design, making the changes I needed to take it from a mockup to something I could plan and Make.
Once I had the technical design ready (right on time!), I moved into Sampling.
Sampling
The objective of the sampling phase is to settle any questions about the aesthetic, functional, or practical elements of the design. It can also help you estimate how long it will take to Make the finished piece.
Identify the design questions
Start by writing down anything you haven’t been able to resolve about the design, or any questions you have about executing the design. Here are some common design questions:
- Will this part of the design look like I’ve envisioned it, once it’s complete?
- Will this function as intended?
- Do I have the skills, materials, and tools to build this part?
- Do I have enough time to finish the piece before the deadline?
Order the design questions from the most important to the least important, and design samples to answer each of your design questions. Going from most to least important means that, if you run out of time, you will still have answered the most important questions.
In the case of Ode to Joy, my prioritized list of design questions looked like this:
- Will an expensive, irreplaceable material (thread made with real gold) work? And will I have enough of it to finish this piece?
- Will the photos in the four corners come out accurately?
- Will the most important design elements (the animals in the center of the piece) stand out clearly when woven?
- How long will it take me to weave the full piece?
Design samples to settle each question
Once you have the list of questions, design several samples to answer each question. Think about how much each sample will cost, in whatever currency is most valuable to you: Time, effort, materials, or tools/other resources. Then choose the least expensive way to settle the question.
For example, if you have a question about the overall look of the piece, you might decide to create a small, simplified model to see how the finished piece will appear.
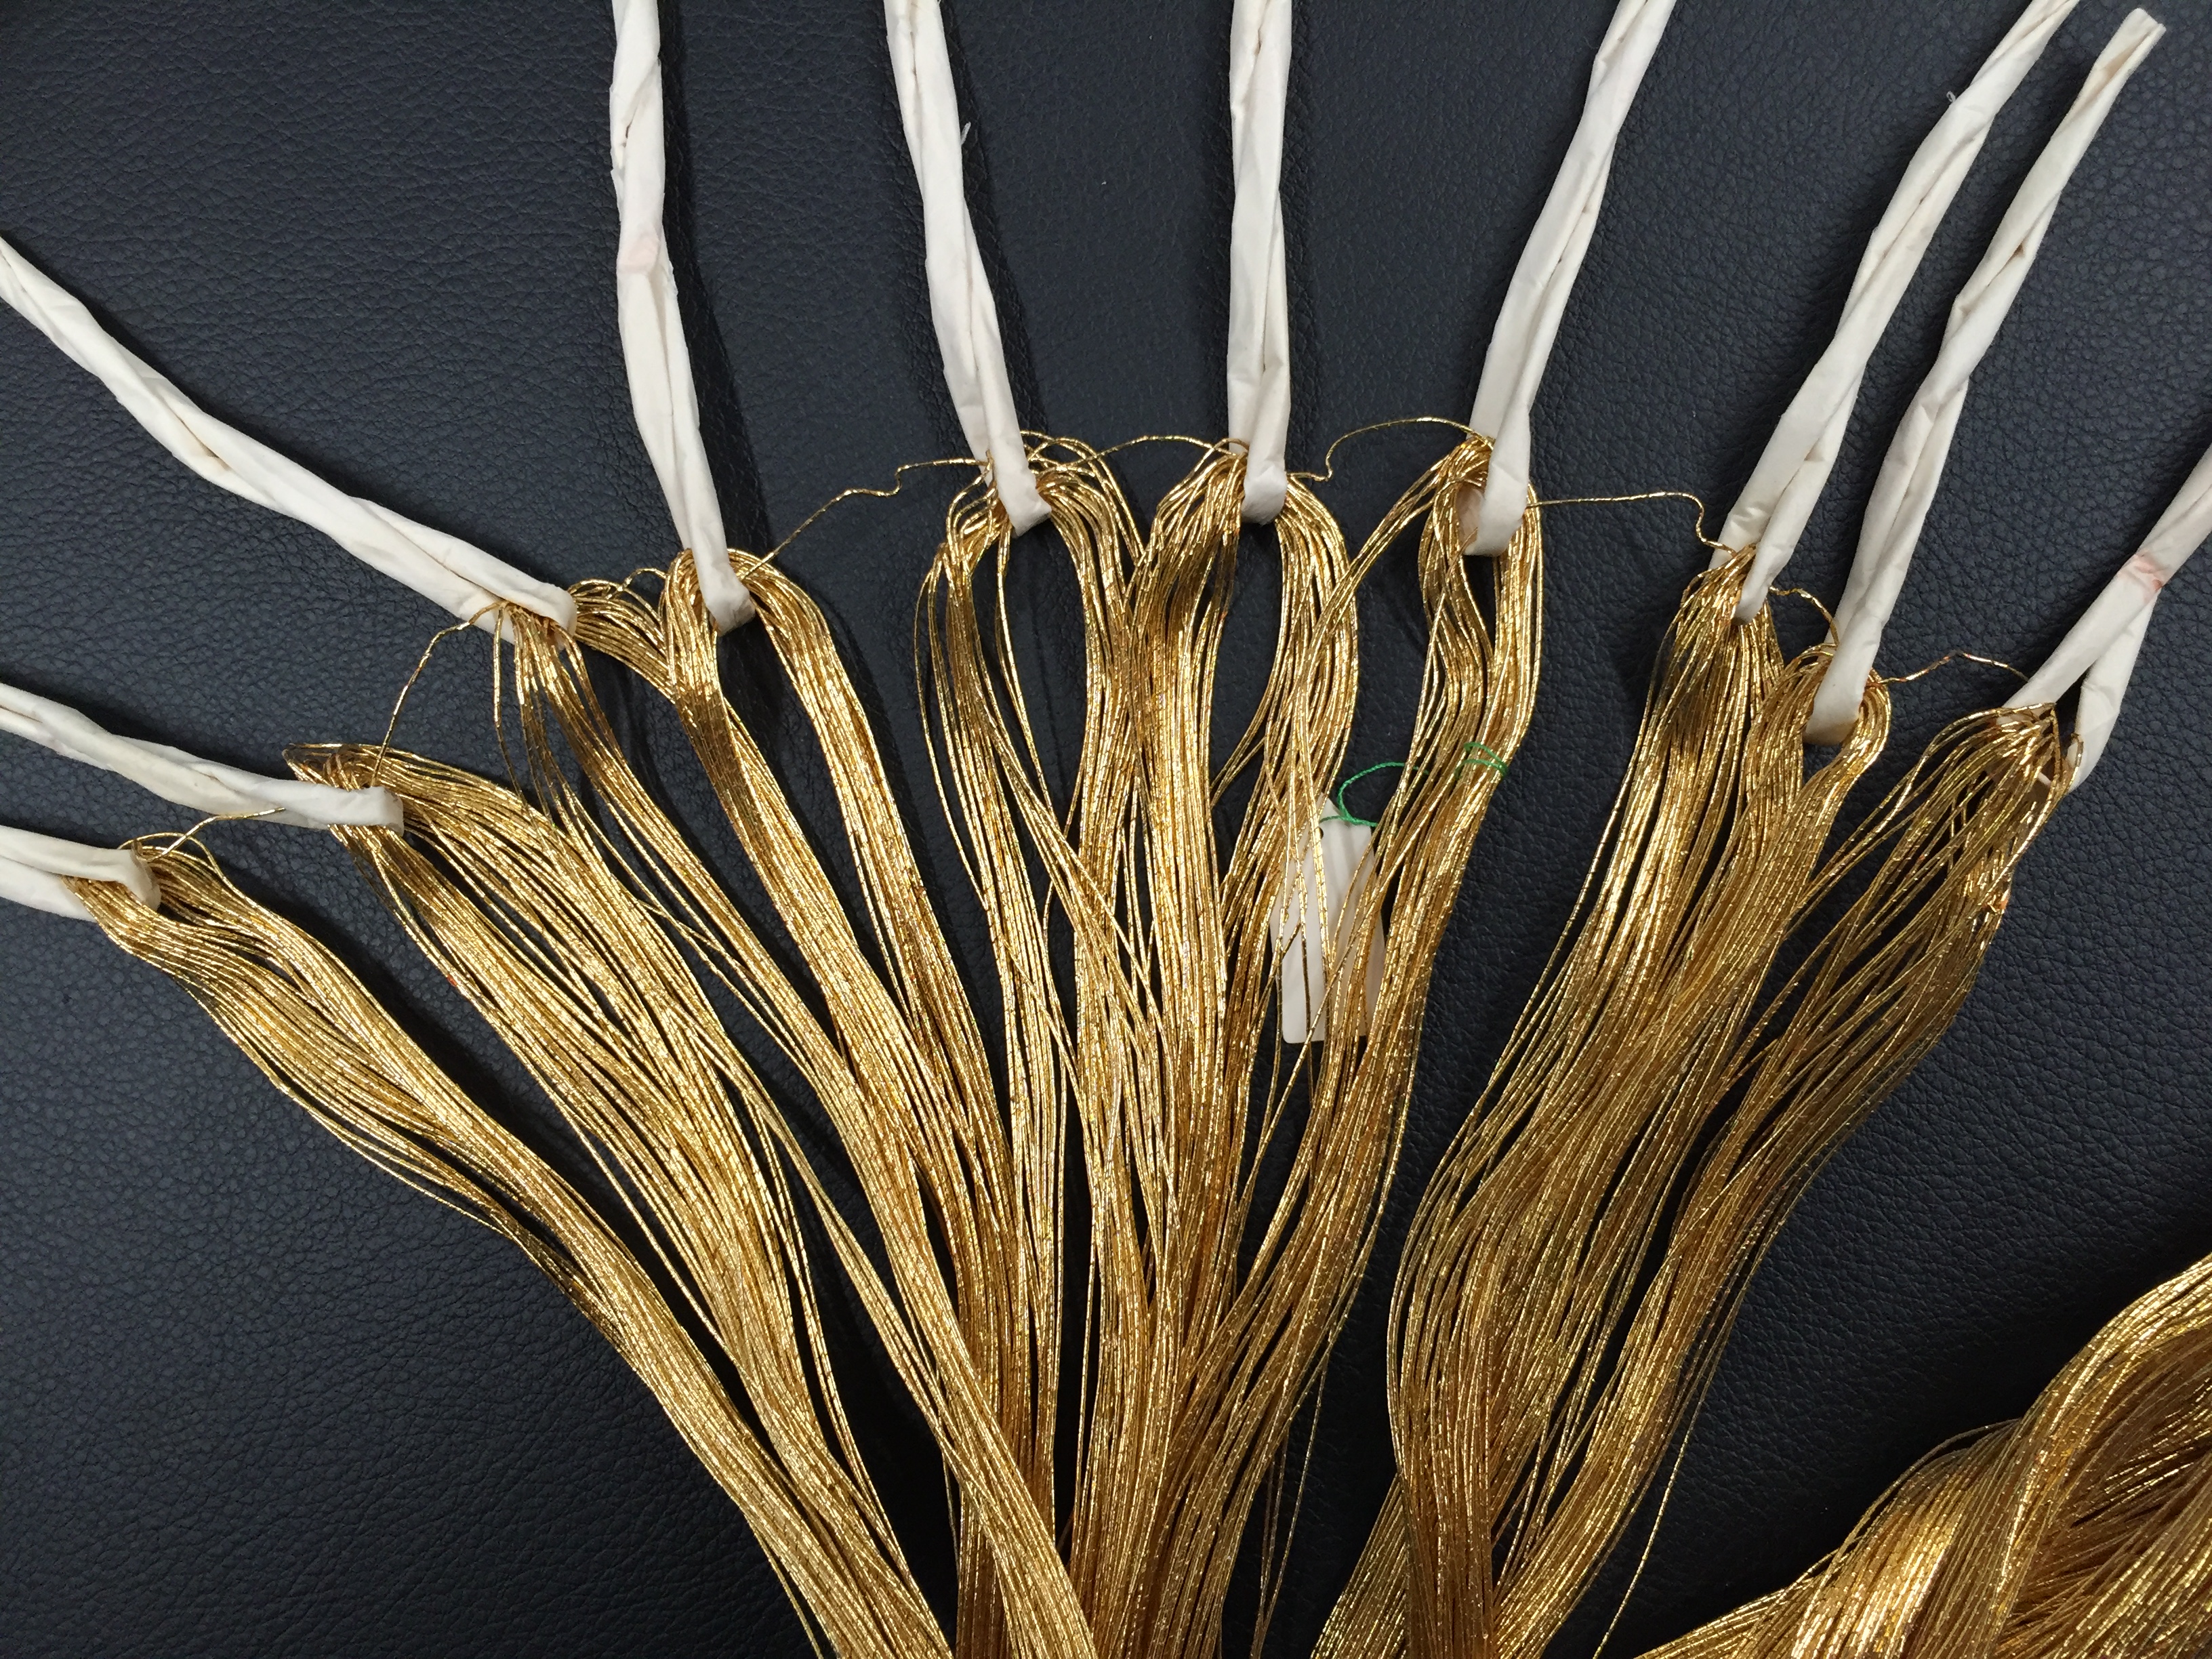
For Ode to Joy, the most valuable item was time, so I designed my samples to be created as quickly as possible. The second most valuable item was my precious gold thread, so I tried to minimize how much I used.
Create and evaluate each sample
Make your first sample, evaluate it, and tweak the design based on what you found. Then design and create the next sample. Continue until you either run out of time or have answered all the important design questions.
I wound up weaving five samples for Ode to Joy. Here they are:
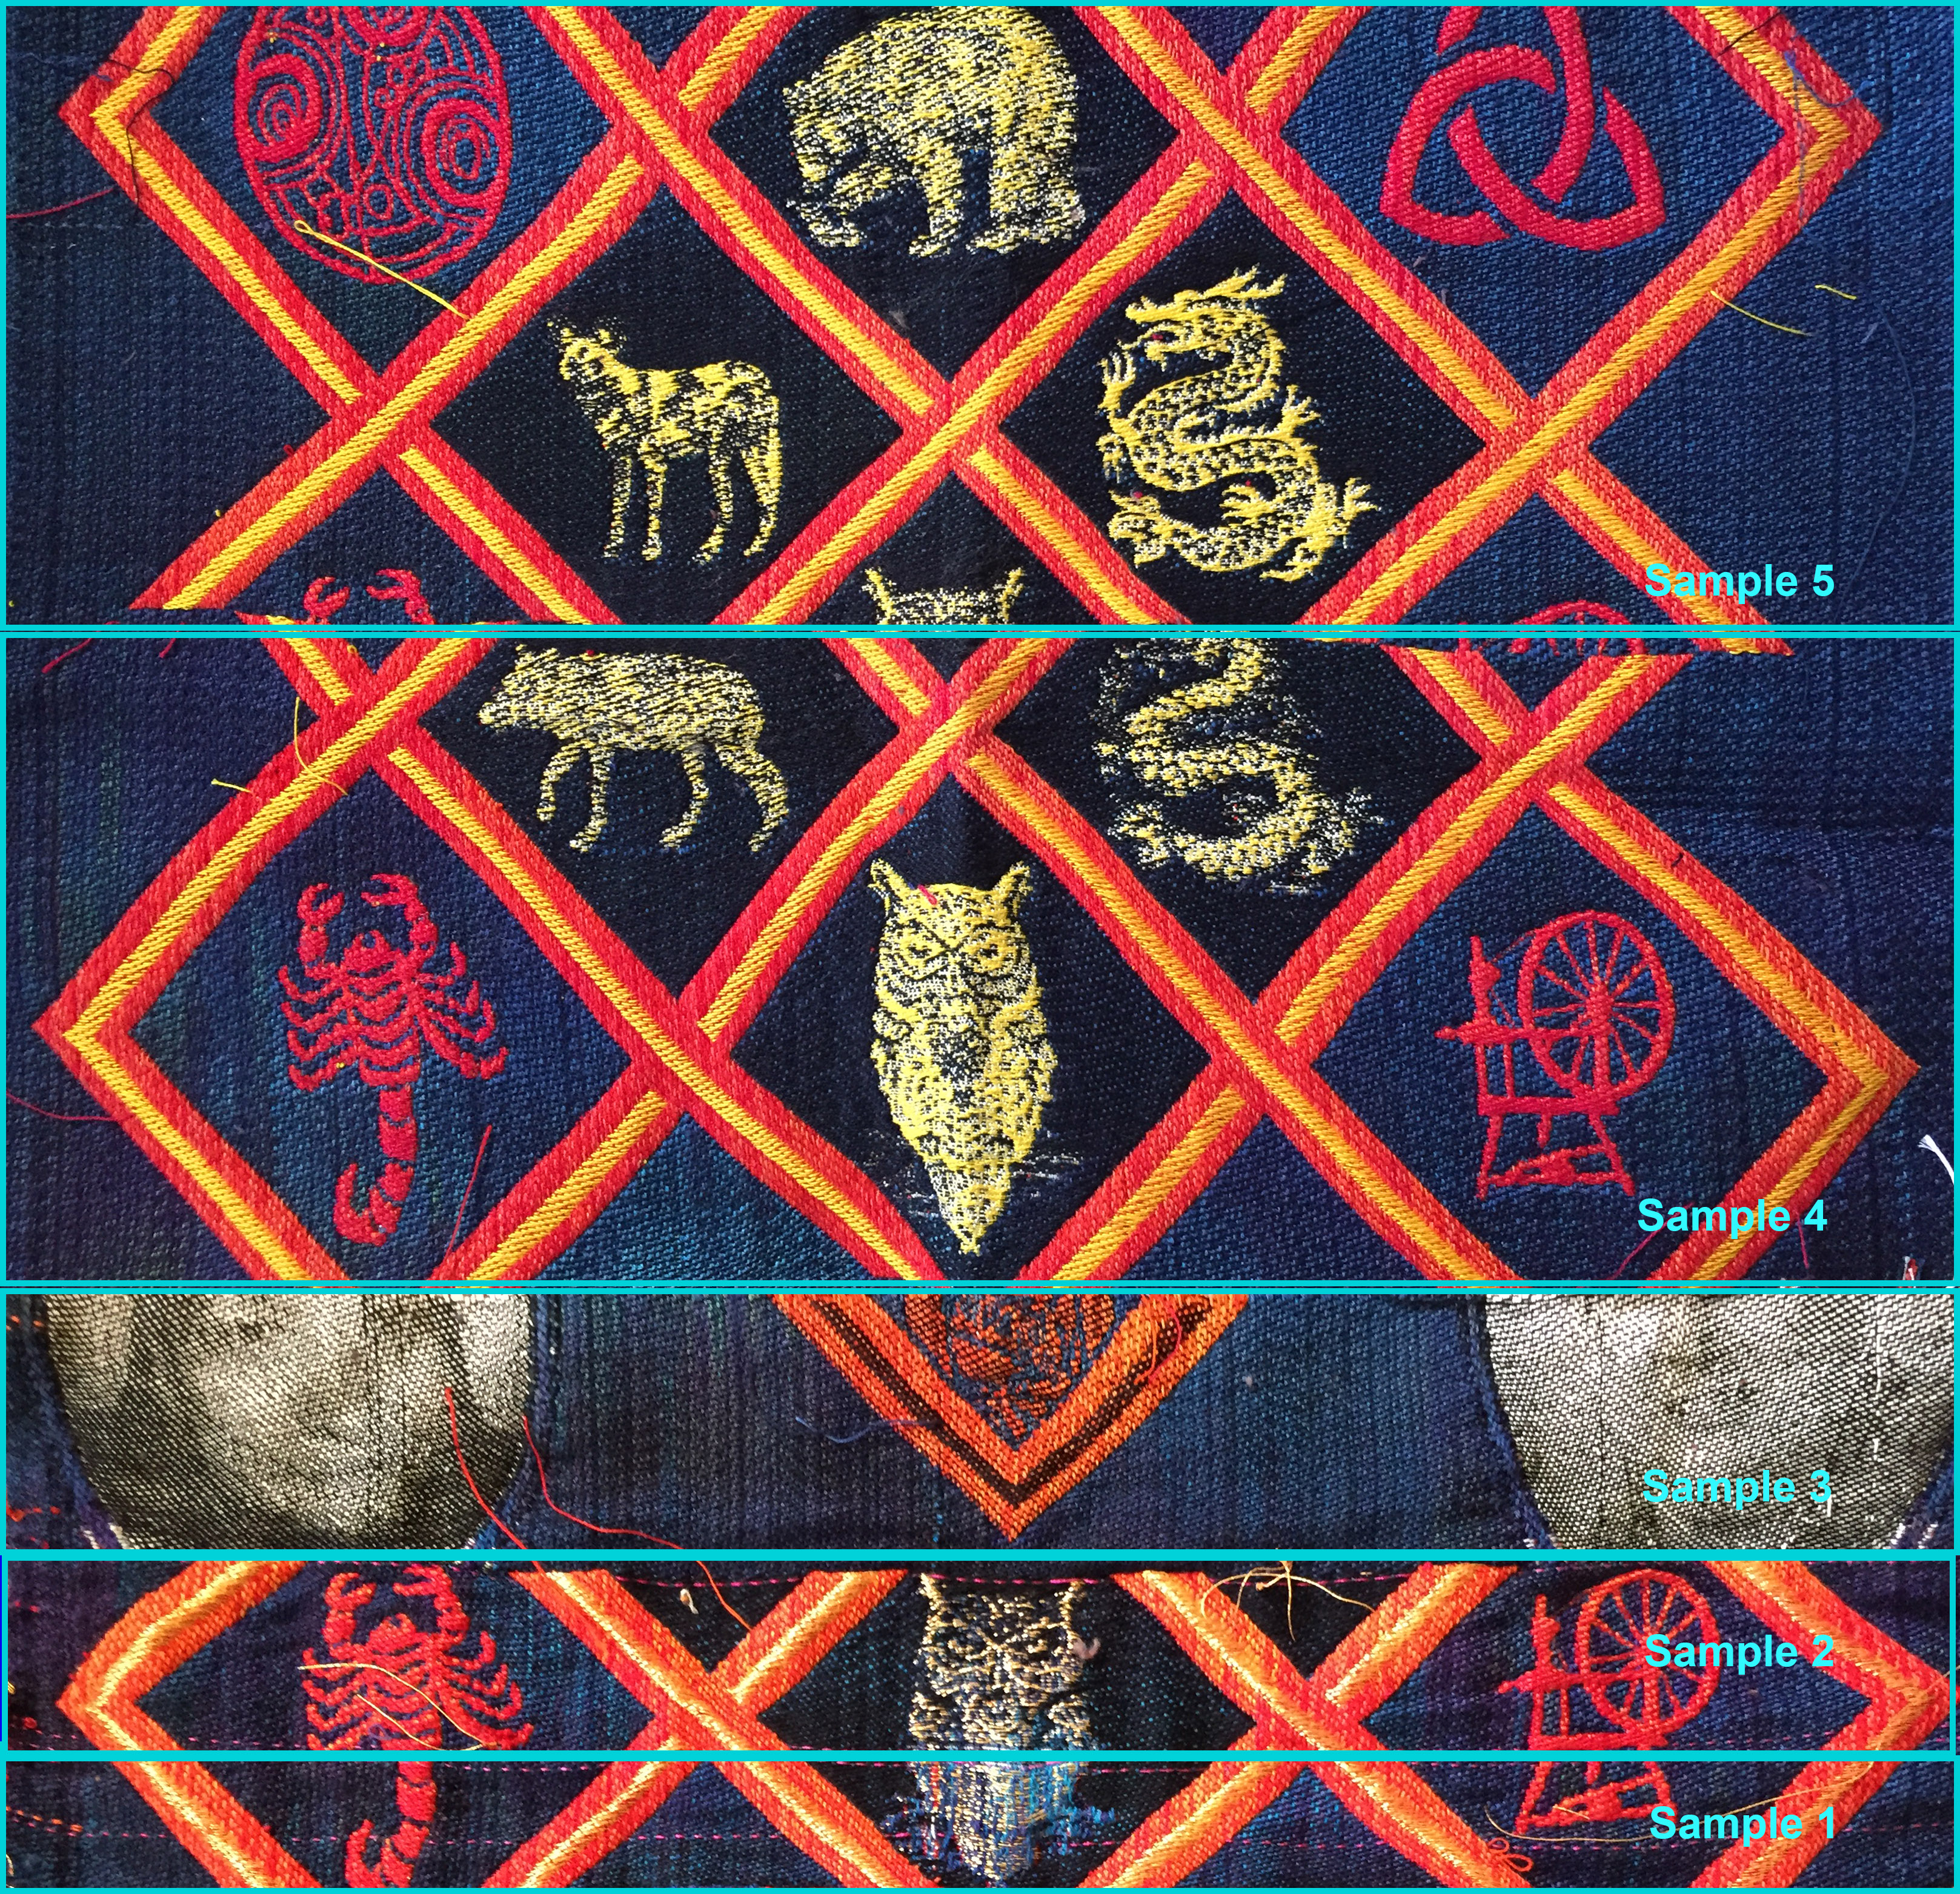
Sample 1 was woven with the precious gold thread, and was intended to answer Design question #1: How would the gold thread look? And how much would I need to finish the piece?
Halfway through Sample 1, I realized that the owl design was poorly conceived – the owl did not stand out clearly despite the precious gold thread. I revised the owl design and continued weaving Sample 2, where the owl now stood out more clearly. I was now satisfied that the design would work with the gold thread, and by measuring the length of the sample, I could calculate how much gold thread would be needed. I had answered design question #1.
Sample 3 was intended to answer design question #2, “How will the photos come out when woven?” I wove just enough of each photo to get a sense for its legibility. I concluded that the photos looked washed out, and tweaked the design to increase the contrast in each photo.
At this point, the natural thing to do would be to create another sample to ensure that the enhanced photos worked. However, I was on a tight schedule. I thought about it and decided that design question #3, “How clearly will the central design come across?” was more important. So instead of testing the photos again, I invested my time in two samples testing the design at the center of the piece. I also timed how long it took to weave an inch of fabric, and concluded that two days should be plenty to weave the final piece.
Throughout this process, I engaged the clients – Joy’s family – in the evaluation process, emailing them photos of the samples and getting their feedback on the next steps. I made several small tweaks based on their input.
The sampling process – even cut to the bone – took four days, one day longer than expected. I still had one extra day of my reserve, though! Three days left to weave the actual piece.
Making the finished piece
After Designing and Sampling, constructing the final piece should be straightforward. But, of course, unexpected things do happen. So keep evaluating your piece as you make it – and make the most critical parts first, so that if you don’t have time for everything, you’ll still have something to show.
For example, if you are making a chair, make the legs and the seat first, so if you run out of time, you can still make a stool. If you’ve spent all your time hand-carving details into the back of the chair, you’ll have no chance to make anything useful.
Despite my sampling for Ode to Joy, I did run into two unexpected problems.
First, as I wove the first 20% of the piece, I found that the images had become stretched lengthwise. Fortunately, the portion I’d woven still looked acceptable, so I didn’t have to start over. (Starting over would have wasted not only time, but also my limited supply of precious gold thread.) However, I decided to tweak my design so the images would come out right.
Second, near the very end of the woven piece, I realized I’d forgotten about the rainbow heart at the top. Creating that would require slow hand-work, and would cost me an extra two hours. Since it was already late in the evening, I wouldn’t be able to finish it in the time allotted. Fortunately, I still had one more buffer day…so I used that “extra” day to finish the hand-work and prepare the piece for hanging. And I delivered a great piece, in time for the memorial service.
Thank you for sharing your process with us. This is very helpful – from planning through completion, a practical application of the principles in your book.
Iimpresses! That’s all I can say about your skills.